How To?
Use the Remote Desktop Manager (RDM) application
This article describes how to directly use the Remote Desktop Manager (RDM) application installed locally on a user’s workstation, while recording the session and using the password vault.
In this way, the user, whether internal to the organization or remote, will be able to continue using this application without having to go through the user web portal.
The operating principle is the following: from the local RDM application on the user’s computer, an RDP connection will be initiated directly to the cyberelements gateway which, depending on the authorizations and settings implemented, will allow access to a target RDS server.
A remote user will need to run a VPN resource first or have another VPN connection.
Use Case
We describe here the use case where the user wants to access a resource via RDP using a different account than the one used to authenticate to the server. The latter is stored in the cyberelements vault and therefore unknown to the user.
The connection target of the RDP session is the IP of the cyberelements gateway.
Prerequisites
It is necessary to enable a service present by default on the gateways of cyberelements.
Name of the service: cleanroom-xrdp-direct
To do this, you must first open an SSH session on the gateway concerned and connect as root.
Then execute the following command to enable the service even if the gateway is restarted.
systemctl enable cleanroom-xrdp-direct
Then the following command to start the service.
systemctl start cleanroom-xrdp-direct
It is possible to check the status of the service by running the following command:
systemctl status cleanroom-xrdp-direct
Note:
At this stage, the MFA is only supported in direct access without agent.
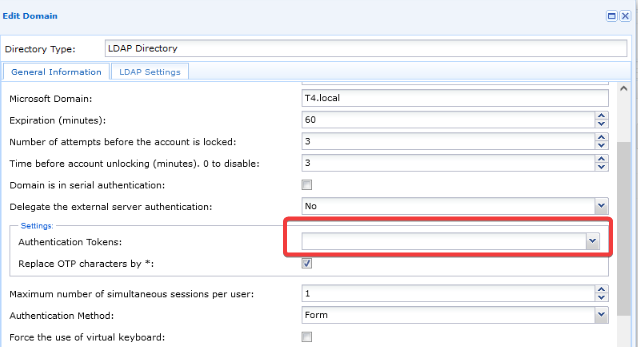
It is therefore necessary to differentiate, for example by duplicating the authentication domain concerned by these internal users and not to enable SSO:
The following field must be left empty for internal users performing direct access:
Access to an RDS server from Remote Desktop Manager with recording and vault
Step 1 - Configuration of accessible resources
Step 2 - Configuration of an access contract without agent
In order to allow users to access a resource directly, it is necessary to configure an access contract.
These access contracts are different from those used to manage access to the user web portal.
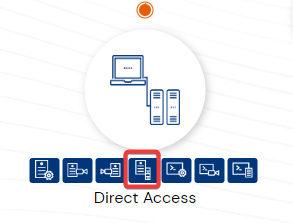
Open the “direct RDP access contract without agent” menu:
This screen allows you to associate:
> The groups of users concerned, organized in domains.
> The sites concerned.
> The resources or applications concerned, organized in categories.
In the first tab, select the desired group(s) by a simple drag and drop to the list on the right.
In the second tab, the concerned site:
In the “Applications” tab, finish creating the SSH recording contract by selecting the resources to be accessed. The resources are organized in categories. It is possible to select an entire category or only certain resources by clicking on “+”.
Step 3 - Login syntax in the Remote Desktop Manager application
In the RDM application used on the workstation, it is necessary to use a particular syntax for the login.
The syntax is as follows:
[USER]/[CLEANROOM DOMAIN]:[RESOURCE NAME]
Example with the mRemote client:
Note :
> The password must be left blank
> The target IP is that of the cyberelements gateway of the site concerned
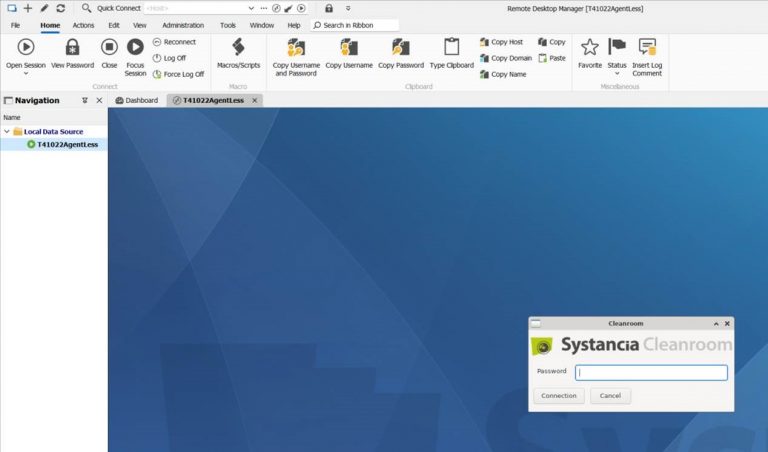
When the connection is launched, the password of the account defined in the connection login (here vs_adm) is requested:
After entering the password, the connection to the server is made; a message reminds that the session is recorded:
The login account is the one entered in the vault.
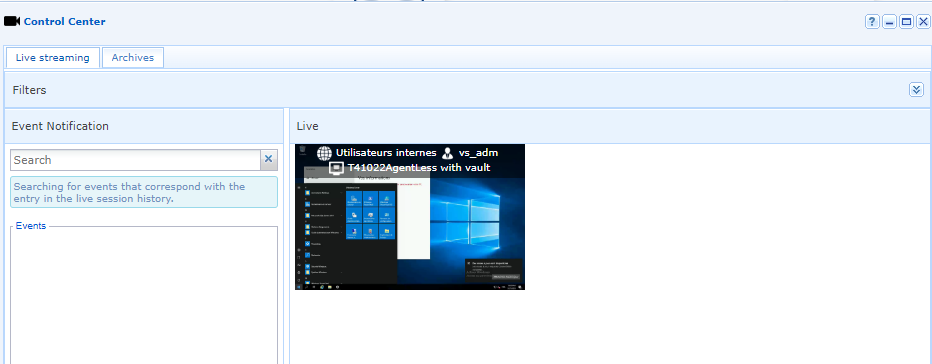
And the session is recorded:
The connection sequence in video format:
Set up your direct access to an RDS machine
or book a meeting with our experts


