Transfer the password vault’s database to another server?
This article explains how to move the database of the embedded vault containing the various aliases to a database hosted on another server in the LAN.
Prerequisites
The server hosting the remote database must also have PostgreSQL version 13 installed.
Move the password vault's database to another server
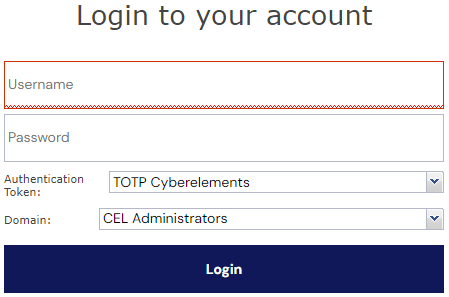
Step 1 - Connect to the admin console
Connect to the admin console
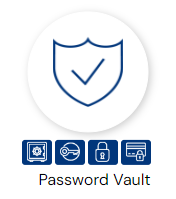
Click on the Password Vault button
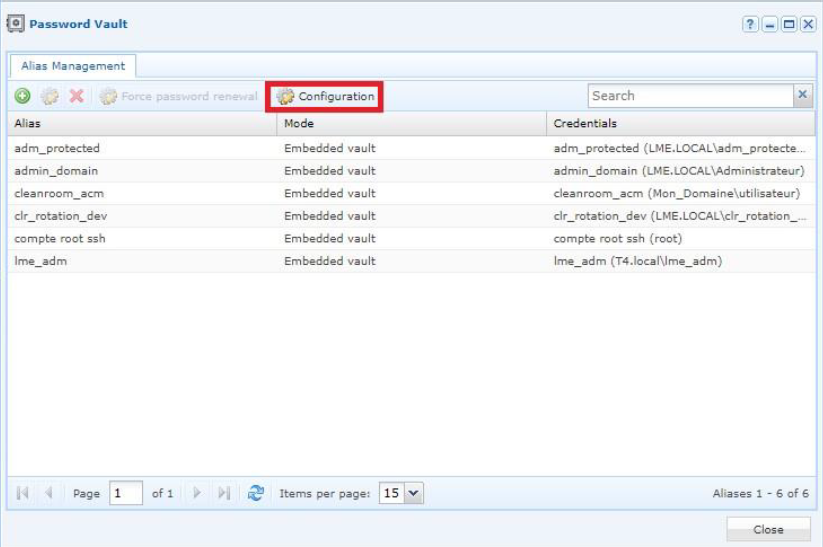
Step 2 - Transfer the database
In the Password Vault module, click on the Configuration button.
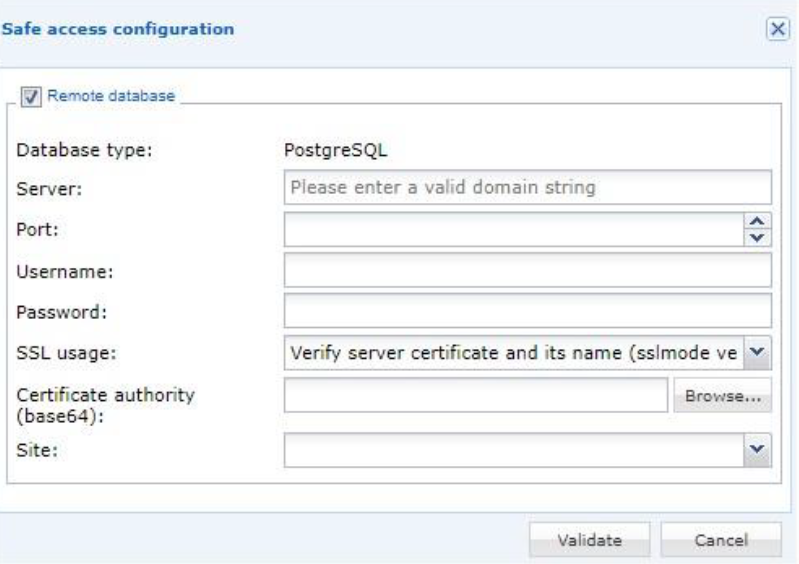
A “Safe access configuration” window opens, displaying only the “Remote database” box.
Once you check it, several fields will be displayed.
The first two fields determine the location of the remote database:
• Server: the remote database server
• Port: the remote database connection port
The next two fields are used to enter the credentials of the service account that will access the database:
• Username: the service account that will be used to consult the database
• Password: the service account password
The “SSL usage” and “Certificate authority (base64)” fields are used to define the certificate configured on PostgreSQL for data encryption.
• SSL usage: This field allows you to select the ssl verification mode you wish to use. There are 3 possible values: o Verify server certificate and its name (sslmode verify-full): this mode checks both the certificate and the name match between the server’s name and the name entered in the certificate. o Verify server certificate (sslmode verify-ca): this mode checks only the server certificate. o Prefer SSL without certificate verification (sslmode prefer): this mode does not verify the certificate. Use this mode if you don’t have a certificate configured in PostgreSQL.
• Certificate authority (base64): Click on the “Browse” button and select your certificate file. The Site field determines the cyberelements site through which the cyberelements Mediation will connect to the PostgreSQL server.
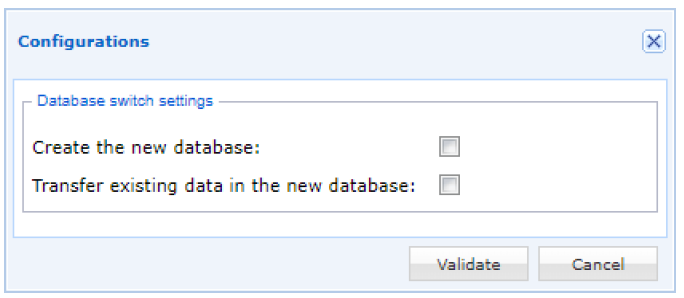
Once you’ve completed these fields, click on “Validate”. A connection test is run to check the information. If the connection test is successful, a “Configurations” window pops up displaying 2 fields:
Check both boxes. The new database will be created with the name basic_vault.<my_organization> where <my_organization> represents the name of the organization on which the modification has been made.